
Jack Skellington Cookies in May? You might be wondering why I decided to make these now and that would be a fair question, so, let me tell you – Disney loves to celebrate holidays and I am always looking for an excuse to bake and find a way to bring my travel related adventures home, so when I saw the post on the Disney Parks Blog announcing that Friday, May 15, 2020 would be #Halfway2Halloween, I knew what I had to do!
Disney posted a variety of recipes on the blog, but most included pumpkin which I don’t have on hand, so I opted for the Jack Skellington Sugar Cookies. As it turns out, I also didn’t have black food coloring (I could have sworn that I did), so I did my best, but I’m pleased with my project.
Tonight we will have a yummy snack to enjoy while watching the Virtual Viewing of ‘Disney’s Not-So-Spooky-Spectacular’ at Walt Disney World Resort. I am super excited for this because Mickey’s Not-So-Scary-Halloween Party is one of my favorite events to attend.
The recipe is a fairly quick and easy one, though it does require a bit of time for the dough to chill, so you will need to plan ahead for that. And it helps to make sure that you have the black food coloring for the best results. Otherwise, you’ll need an electric mixer (I have a KitchenAid Stand Mixer but a hand one will work just fine), and either a pastry bag with a small tip or a ziploc bag, cookie sheets, a whisk and a rolling pin.
Making the Cookies
First I assembled my ingredients, along with my tools. The butter does need to be softened, so if you haven’t had a chance to let it sit out, then you can cheat like I often do by boiling some water and pouring it into a bowl or a glass and letting it sit for a minute. Then pour the water out and then turn the bowl or glass upside down over the butter and leave it alone for a few minutes. Check on it periodically and reheat the bowl/glass as needed.
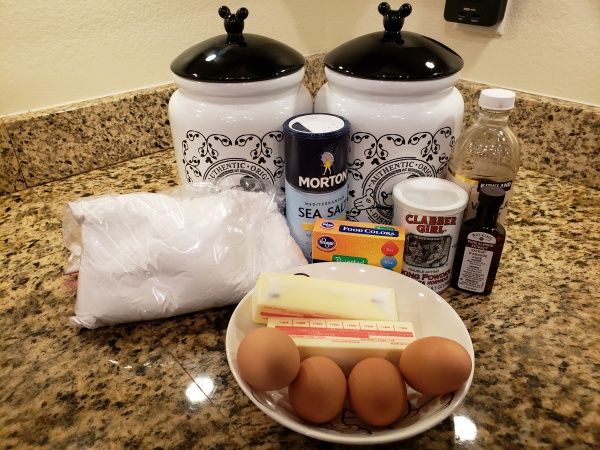
I typically like to measure things out as much as I can before I start the process, so I started with the flour, baking powder and salt.
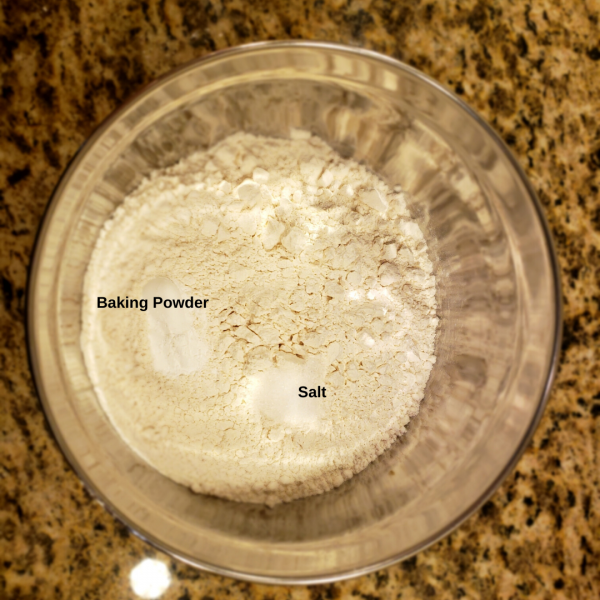
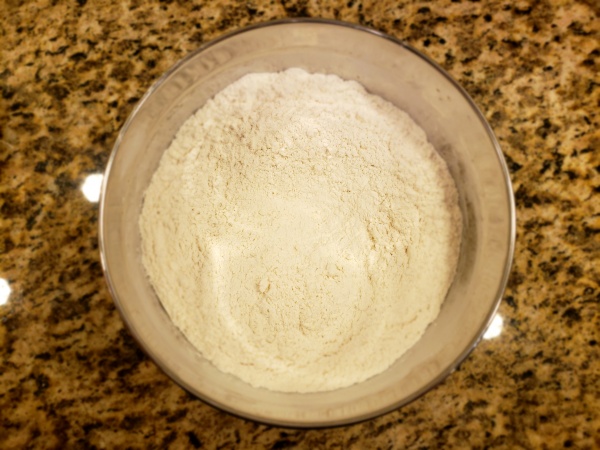
Then I combined them.
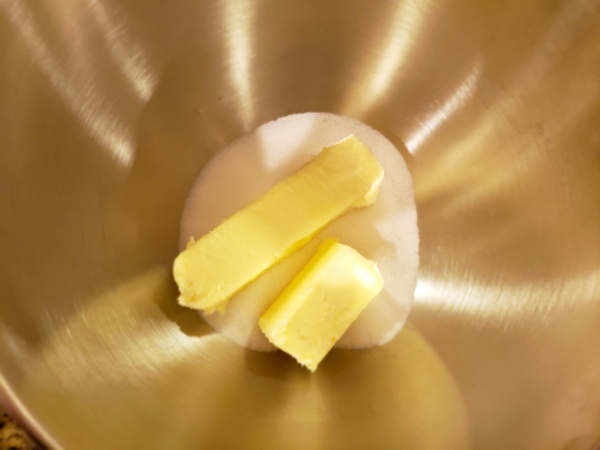
I also measured out the sugar and added the butter that I had softening in the bowl of my mixer.
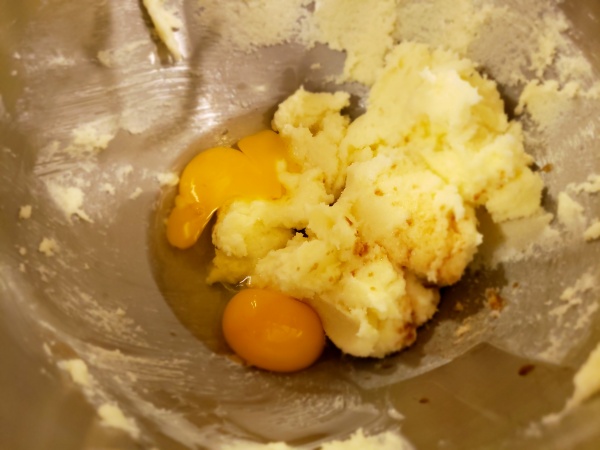
Next I added the eggs and the vanilla.
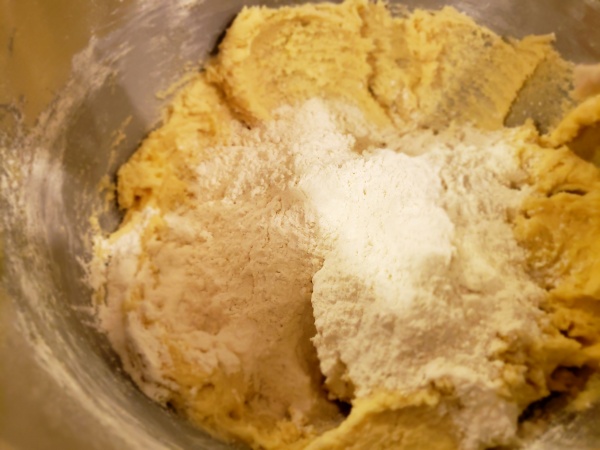
Flour comes next, split up into 3 separate batches.
Once the dough comes together, it is time to put the dough in the fridge and let it chill. The recipe says that you should cover the bowl with plastic wrap and let it chill that way but nearly every other sugar cookie recipe I’ve made has you shape it into a disc and chill, so I did that this time as well.
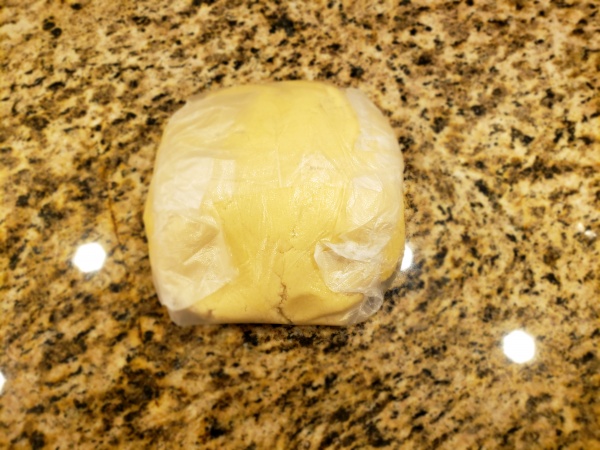
Cookie dough can be weird, sometimes it takes longer than the recipe calls for in order for it to settle the way you want it to, and ideally, you’ll be able to give it an hour or two. In this case, I waited an hour and then started preheating the oven and it was fine. But if you pull it out and it doesn’t seem to be handling well, try wrapping it back up and put it back in for a while.
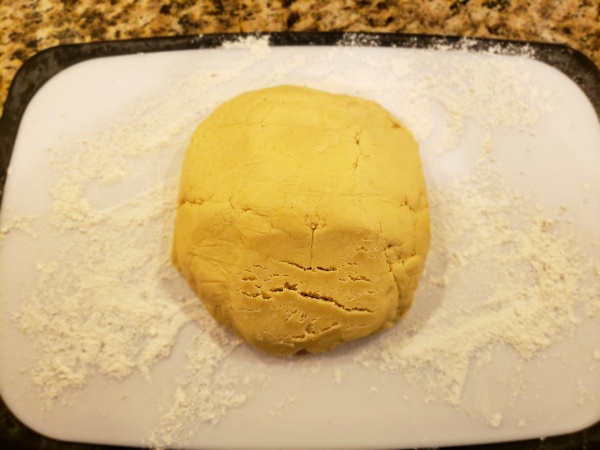
If the dough is responding well, then the recipe suggests that you turn it out onto a floured surface and roll it out to 1/4-inch thickness. When I’m making cookies, though, I prefer to use powdered sugar instead of flour because if the dough picks up too much flour you end up with raw flour in the finished product and it’s just not a good taste.
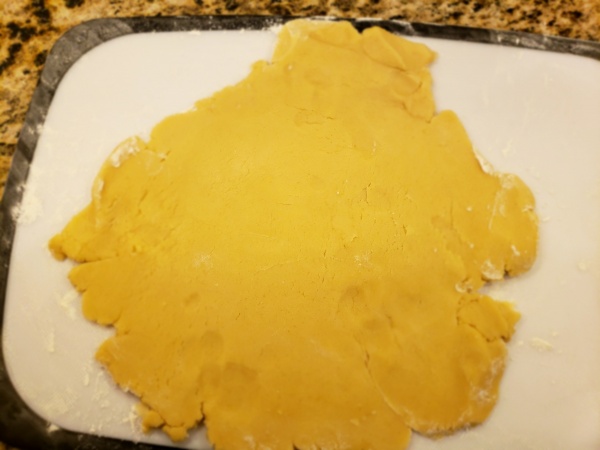
Once you’ve rolled the dough out, use a round cookie cutter or an overturned cup to cut out circles that are about 3 1/4-inches in diameter. Place the cookies 1 inch apart on an ungreased cookie sheet.
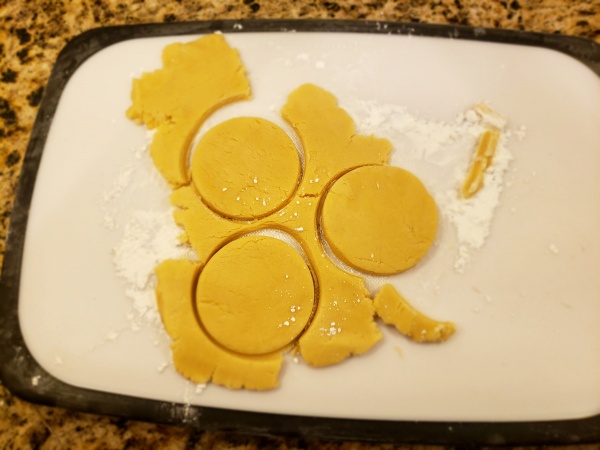
Bake the cookies until golden brown. Let cool.
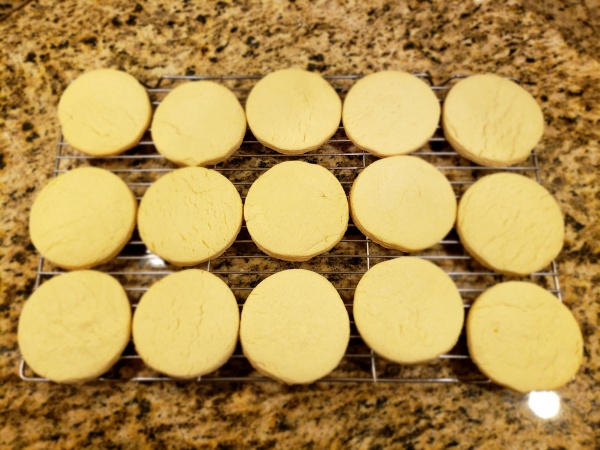
Making the Icing
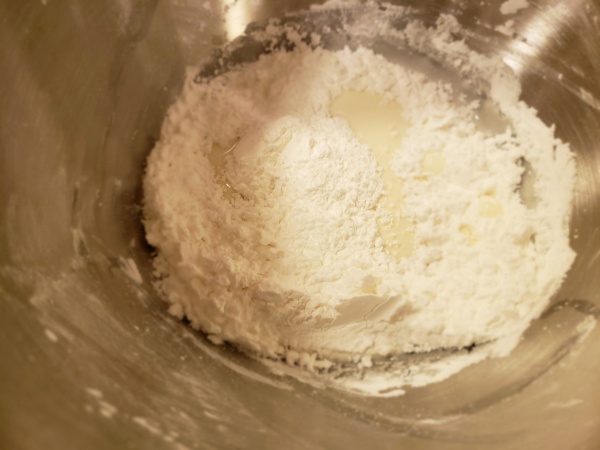
Now it’s time to start on the icing! The egg whites and almond extract go into the bowl and get mixed until frothy.
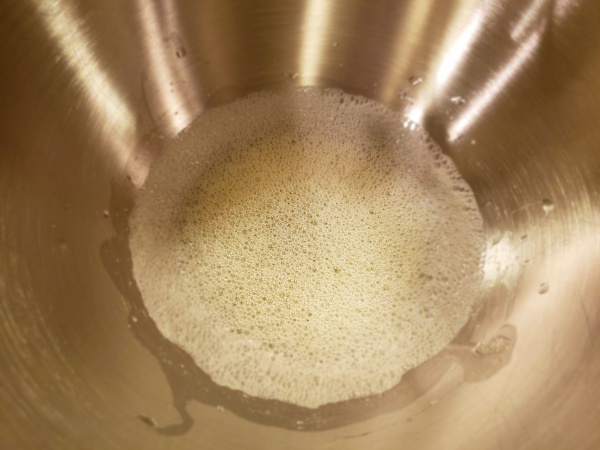
Add the confectioners sugar a little at a time, just until it’s thick but you can still spread the frosting. This can change quickly, so you have to keep an eye on it. If you overdo it, you can add some milk to thin it out a bit, but, again, go slowly!
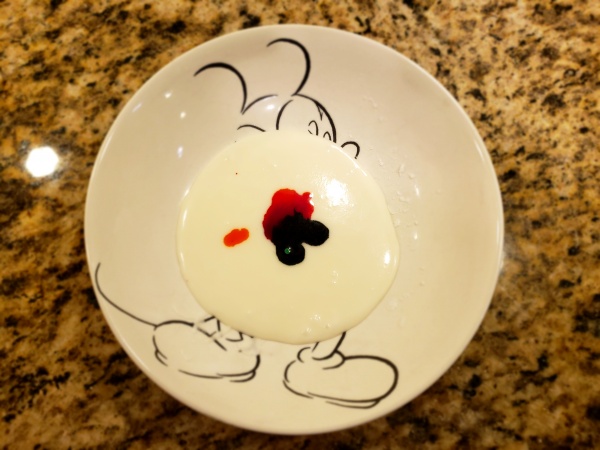
Put 1/3 of the icing in a separate bowl. If you have black food coloring, this is where you add it. I do not, so you’ll see that I have an adventure in colors. Once you have dyed your icing black, you can either put it in a pastry bag with a small tip, or you can do what I did and put it in a Ziploc bag.
Decorating the Cookies
Once the cookies are cool, it’s time to cover them with white icing. This needs to dry completely before you can move on to the next step. I put them in the fridge to help speed it along as suggested in the recipe.
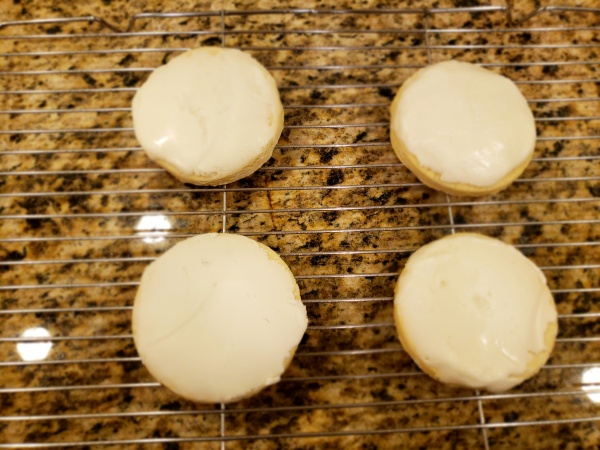
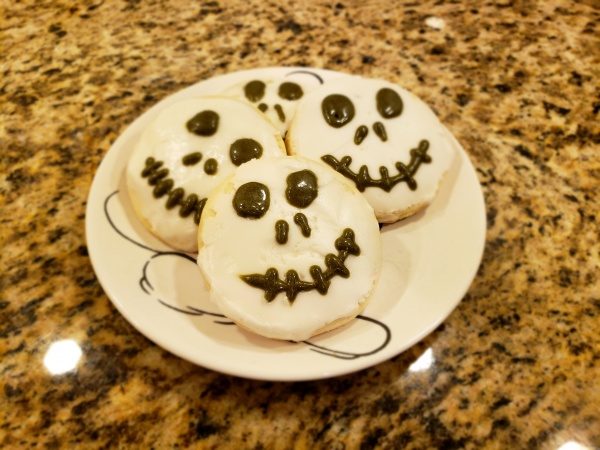
After they are set, pull them out and create Jack Skellington’s face! It can be helpful to take a knife and score a little guide ahead of time, so you’re just kind of tracing over that with the “black” icing (because mine is grey or green depending on the light).
Jack Skellington is a relatively easy character to recreate. You just need to sketch out his eyes and then fill them in with your icing. Then add to lines that are comma shaped for his nose. Then add a line and stitches across it for his mouth and you are good to go. The nice thing with Jack Skellington is that he looks a bit better if it is imperfect.
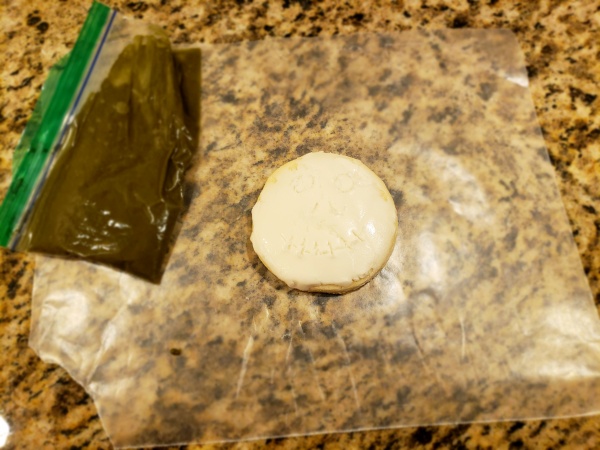
I popped them back in the fridge to set for about 15 minutes and they were good to go. I will definitely be picking up some black food coloring so when it’s all the way to Halloween I will be ready. But in the meantime? I’m enjoying these Jack Skellington treats and the Not-So-Spooky-Spectacular!
Jack Skellington Sugar Cookies Ingredients
Cookie Ingredients
- 2 1/2 cups all-purpose flour
- 1 teaspoon baking powder
- 1/2 teaspoon salt
- 3/4 cup butter softened
- 1 cup sugar
- 2 eggs
- 1/2 teaspoon vanilla extract
Icing Ingredients
- 2 egg whites
- 3 cups confectioners sugar
- 1/2 teaspoon almond extract
- black food coloring
Jack Skellington Sugar Cookies Instructions
Cookie Directions:
- Combine flour, baking powder, and salt in medium bowl and whisk until combined. Set aside.
- Combine butter and sugar in bowl of electric mixer and beat until smooth. Beat in eggs and vanilla. Add flour mixture in three parts. Once dough comes together, cover bowl with plastic wrap and refrigerate for at least 1 hour.
- Preheat oven to 400º F.
- On a floured surace, roll out dough to 1/4 inch thickness. Using round cookie cutter or an overturned cup, cut dough into circles about 3 1/4 inches in diameter. Place cookies 1 inch apart on ungreased cookie sheet.
- Bake 8 to 10 minutes, or until golden brown. Cool completely before icing.
Icing Directions:
- Place egg whites in bowl of electric mixture; whisk until frothy. Add confectioners sugar a little at a time, until thick but still spreadable.
- Place 1/3 of icing in a separate bowl. Add black food coloring to reserved icing and stir until color is uniform.
Decorating Directions:
- Decorate cooled cookies by covering with white icing and letting it dry (placing cookies in the refrigerator will speed this process up).
- Place black icing in pastry bag or a plastic resealable bag and cut off a tiny bit of the corner to create a very small hole. Use black icing to draw eyes, nostrils, and stitched mouth on each cookie.
Similar Posts:
- None Found
