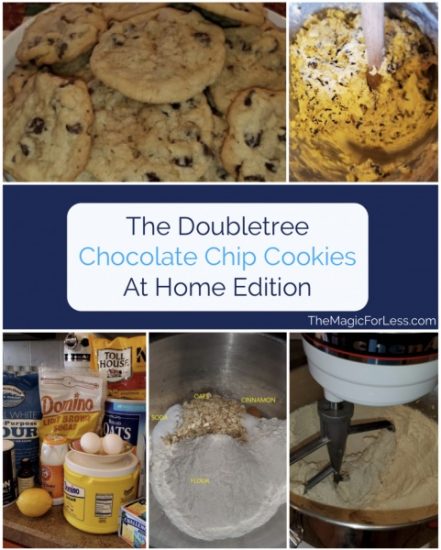
Ever eat something really great on a trip and decide you wanted to make it? After an online Zoom meeting with my colleagues at The Magic For Less Travel, we went off-topic (imagine that!) and began discussing “Travel Related Cooking.” We started talking about all the great stuff we try on a trip and how much fun it would be to try to make some of these dishes at home. Many years ago I had Doubletree Hotel Chocolate Chip Cookies and thanks to the internet I found a recipe, and was able to transport myself back to that wonderful bite I remembered so well.
Before we get too far into this, there are many clone recipes of Hilton’s Doubletree Hotel Chocolate Chip Cookies. However this particular version was actually released by Hilton and that’s the one I am going to use. They also generously included their recipe in a blog post, and I also have it listed below in printable format. I will go on record now to say it is a keeper–and worth printing.
The Process
First step of any recipe: be sure you have all of the ingredients! Thankfully I had everything I needed to make these, including that one-off lemon. Country living and no convenient grocery store means having the basics on hand, because there’s no quick trip down the road in case I forgot something. With this particular recipe, it asked for fresh lemon juice. Now I’ve been making cookies for at least 40 years and do not ever remember putting fresh lemon juice in a chocolate chip cookie recipe but I shall humor them and follow the instructions as written. The recipe also calls for a pinch of cinnamon, and I neglected to add that to the ingredients photo, but I have at least 4 varieties of cinnamon at the house. A “pinch” is usually about 1/8 of a teaspoon if you prefer to measure. I prefer Ceylon cinnamon for my baking and purchase most of my spices from Penzey’s. They don’t have stores everywhere but if you like to cook or bake, you really will love the quality. Regarding the oats: This recipe calls for ROLLED OATS. This is also known as “five minute oatmeal.” Do not use the one minute oats, also known as Quick Oats. I like long cooked oatmeal so I always have Rolled Oats in the pantry. Also I’m going to add that “butter is better.” Please use butter–I always buy unsalted because if the recipe needs salt I’m going to add it, and it doesn’t need to be in my butter. Buy your butter on sale and store it in the freezer. If you find you have too much butter, just bake something good for your household.

Equipment Needed
After you have your ingredients, organize your equipment. Many years ago I was gifted an awesome KitchenAid Stand Mixer. Even though we are now empty-nesters I use it quite often as it is rather unusual to have purchased baked goods in this house. If I’m going to eat a cookie, muffin or enjoy a piece of cake, I’m going to make it myself from scratch. This particular mixer is a 6 quart Artisan, and I absolutely love it despite the size being overkill for two people. However it does knead bread and handles huge batches of muffins and other batters. If you’re looking for a splurge, “bigger is better” with a stand mixer and the motor matters especially if you’re investing in something that will knead bread. You do not need a stand mixer for this particular recipe but it sure makes things convenient. If you are not using a stand mixer, get a large bowl and a handheld electric mixer. You need a big bowl because few things are as bad as flour coming out of the bowl while you’re trying to make batter.
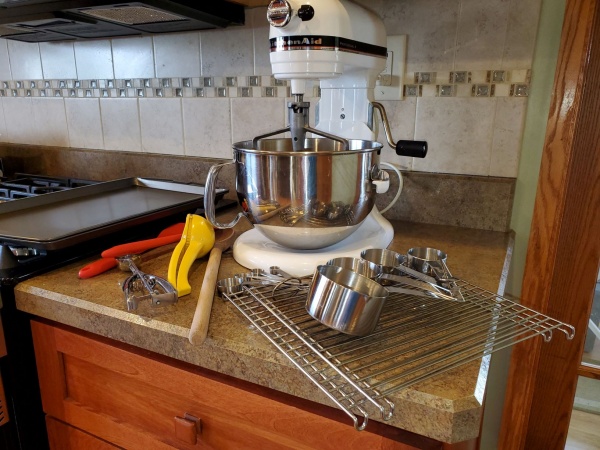
There’s some science involved with baking, and one of the tricks to great cookies is to dissolve the sugar. That’s how you get a “light and fluffy” mixture before adding dry ingredients. Although I used that big KitchenAid which turned the butter and sugar into a cloudy fluff of batter in a few minutes, not everyone has one on the counter. So is the recipe ruined if you don’t have a one? No, but i can’t imagine making this with the old fashioned bowl and spoon method. If you don’t already own an electric hand mixer, please spend the $20-30 for a decent one and your baking life will be simplified. And as for that wooden spoon… I buy mine in specialty stores. It is basically the thickness of a small tree branch. I have several of these in different lengths and I haven’t ever broken one. (This particular spoon is purchased in Epcot’s France at the kitchen store but you can find them at other places.)
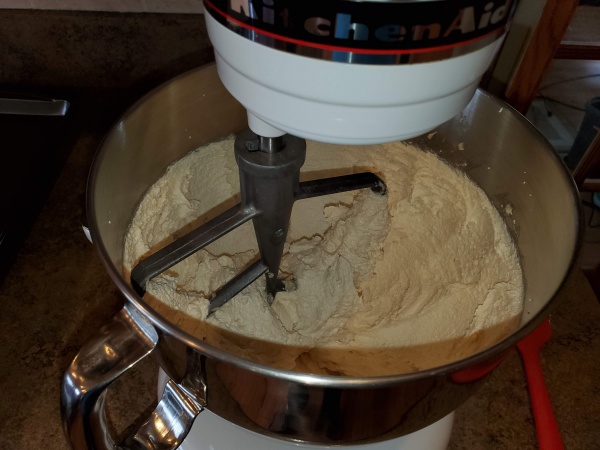
As you follow the recipe instructions, you’ll end up with a fluffy batter with well dissolved sugars. I like the big mixer because I can just leave it to do its thing while I do something else (like clean up as I go.) Total mixing time was about six minutes on medium for me in both stages of the instructions. I ended up with a nice fluffy batter after the addition of eggs, vanilla and that smidge of fresh squeezed lemon juice.
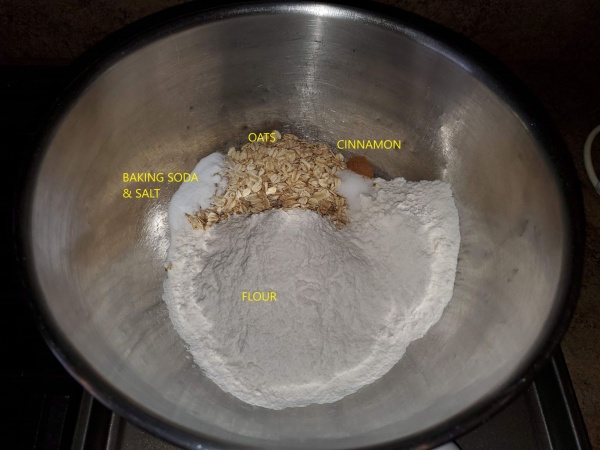
While the batter was mixing, I put together my dry ingredients. They’re marked here for your benefit, dear reader. Normally I just dump them in a bowl and give a quick stir with a short whisk to incorporate everything, because no one wants a bite of salt. If your baking soda is lumpy, run it through a sieve first. While things are all organized in this bowl, after you get it all in there you need to stir it up to blend the ingredients. You’re not beating this a lot in your mixer so having things incorporated in the bowl first is going to matter.
After you add the dry ingredients to the butter mixture, you’ll need to add the chocolate chips, and nuts, with a sturdy spoon. I belabored the walnut situation, I really did. I even opened the package and ate one, but couldn’t bring myself to chop them up and add to my cookies. Although earlier I said I was going to make the recipe “as written” I just don’t like walnuts in my baked goods. I will add that the amount of chocolate chips is just right for this amount of dough and the walnuts weren’t missed–at least by us. Note that the typical bag of Nestle Toll House Chocolate Morsels does not have enough for this recipe (the 12 ounce bag has just two cups, and you need 2 2/3. So make sure you have two bags on hand.) I usually get the huge bag and tell hubby to keep out of it because I plan on baking.
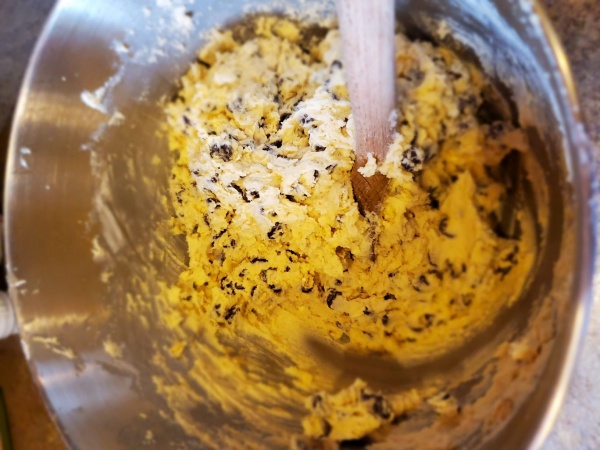
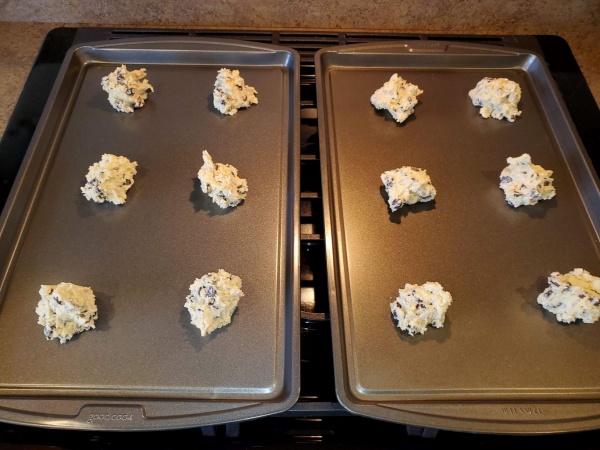
After you get your dough mixed, its time to put it on the cookie sheet. As written, this makes a large cookie. With a slow oven at 300 degrees, I knew I was in for a long baking session. I got six on each of my large cookie sheets and with 20-23 minutes of baking per batch, I decided that I wasn’t going to spend this much time watching stuff cook as I had other things to do. So the first batch has large cookies, and then I dialed them back to what is a standard cookie at my house. There is no noticeable difference between the two in either flavor or texture. I also skipped the parchment paper, and after they were cooled a few minutes on the baking sheets I put them on racks. I have new baking sheets so nothing was going to stick. If you have old baking sheets that are no longer nonstick, I would recommend using the parchment paper. These cookies actually stuck to my old baking sheet and I had to use a heavy spatula to remove them. I did not have that problem with the new pans.
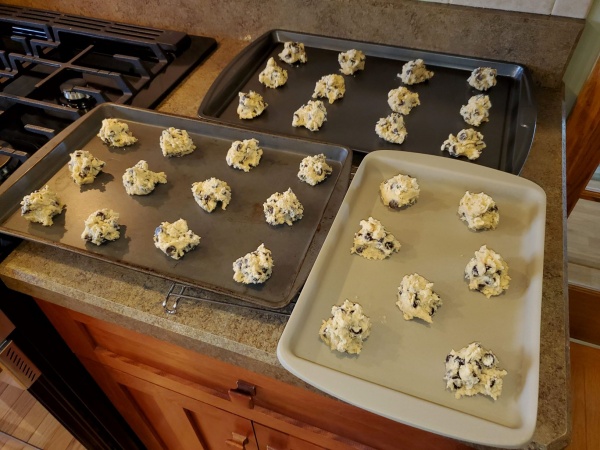
The next batch was put on different cookie sheets, and were a lot smaller than Round 1. I had to scrounge around here for additional baking sheets, including that Pampered Chef half bar pan. Normally I love Pampered Chef stoneware but probably will not use this pan again for these cookies as they did not brown as well as the ones on the metal pan. This is also a new piece of stoneware and is not yet well seasoned.
The Result
This is a very good recipe for chocolate chip cookies and in my house they are considered to be better than the classic Toll House version. The specific instructions on the length of time to cream the butter and sugars, and then the second beating with eggs, makes for a very fluffy dough base. I started with everything at room temperature, including my eggs and butter. This really helps dissolve the sugar. However I found the baking instructions in Hilton’s recipe more suitable to a commercial kitchen than my home version. My oven has two racks and fits two large baking sheets. The time commitment to continue like this was too much for me in the late afternoon. The first two trays went in as written with six cookies per baking pan. In my oven they took 22 minutes to bake. I did not have any desire to spend the next hour cooking 24 more cookies, so I found more baking sheets and made my cookies smaller, and decreased the cook time to about 19 minutes and shoved that batch in the oven at the same time. I did keep the oven at 300 degrees as specified in the recipe. These cookies do not spread a lot when baking. I think that is the rolled oats and the slower oven.
I hope you enjoy these cookies as much as us!
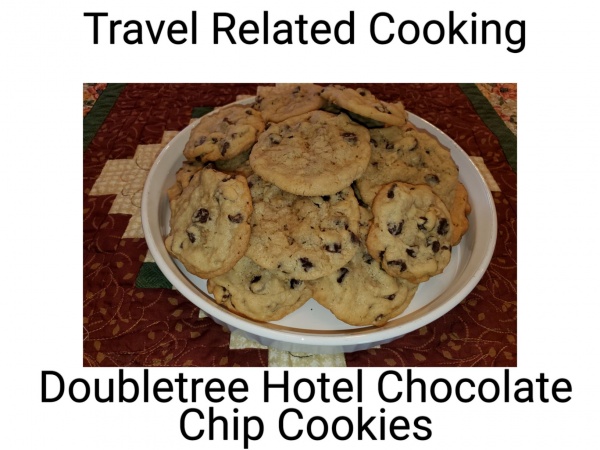
DoubleTree Signature Cookie Recipe
Ingredients
- 1/2 pound butter softened (2 sticks)
- 3/4 cup + 1 tablespoon granulated sugar
- 3/4 cup packed light brown sugar
- 2 large eggs
- 1 ¼ teaspoons vanilla extract
- ¼ teaspoon freshly squeezed lemon juice
- 2 ¼ cups flour
- 1/2 cup rolled oats
- 1 teaspoon baking soda
- 1 teaspoon salt
- Pinch cinnamon
- 2 2/3 cups Nestle Tollhouse semi-sweet chocolate chips
- 1 3/4 cups chopped walnuts
Instructions
- Cream butter, sugar and brown sugar in the bowl of a stand mixer on medium speed for about 2 minutes.
- Add eggs, vanilla and lemon juice, blending with mixer on low speed for 30 seconds, then medium speed for about 2 minutes, or until light and fluffy, scraping down bowl.
- With mixer on low speed, add flour, oats, baking soda, salt and cinnamon, blending for about 45 seconds. Don’t overmix.
- Remove bowl from mixer and stir in chocolate chips and walnuts.
- Portion dough with a scoop (about 3 tablespoons) onto a baking sheet lined with parchment paper about 2 inches apart.
- Preheat oven to 300°F. Bake for 20 to 23 minutes, or until edges are golden brown and center is still soft.
- Remove from oven and cool on baking sheet for about 1 hour.
Notes
Cook’s note: You can freeze the unbaked cookies, and there’s no need to thaw. Preheat oven to 300°F and place frozen cookies on parchment paper-lined baking sheet about 2 inches apart. Bake until edges are golden brown and center is still soft.

Similar Posts:
- None Found
